
Throughout the opening exchanges, the home side grew into the contest, with a number of easy saves for Bailey Peacock-Farrell acting as warnings for the Seasiders.
On the 23rd minute mark, Orient made the most of the shooting opportunity on the edge of the box, as Aaron Connolly curled a side-footed attempt out of the goalkeeper’s reach.
Immediately after the restart, Richie Wellens’ side had their numbers reduced, with Tayo Adaramola sent off for a second bookable offence.
On the back of this, a golden opportunity quickly fell to Ashley Fletcher, but the forward was denied at close-range by Cahill.
From there, the Seasiders were limited to mainly half chances, with little intensity on display to find an equaliser.
Hayden Coulson, Andy Lyons and Michael Ihiekwe all put efforts just wide of the target in the final half an hour.
There was a late chance for Charlie Wellens to strengthen Orient’s lead, but his first-time strike was tame and easily saved.
Lyons came close to immediately punishing the wasted chance, but Cahill did just about enough to keep out a close-range header.
In the final stages, Fletcher did make sure that let off counted for something, as he slotted in from close-range to give Blackpool a rare point away from home.
Here’s how the Seasiders performed:
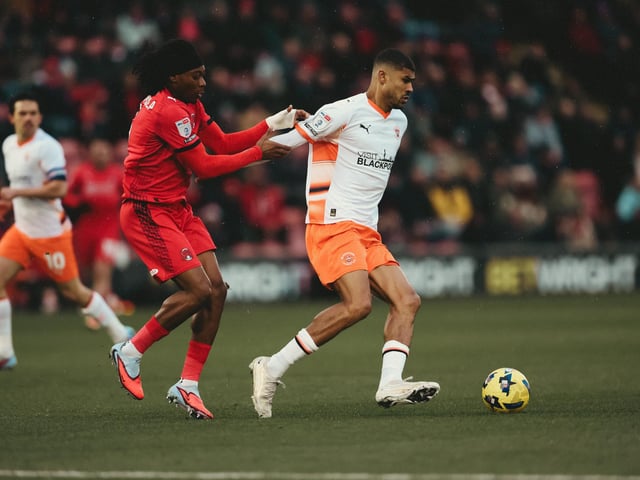
1. How did the Seasiders perform?
Blackpool took on Leyton Orient at Brisbane Road. Photo: Gareth Evans
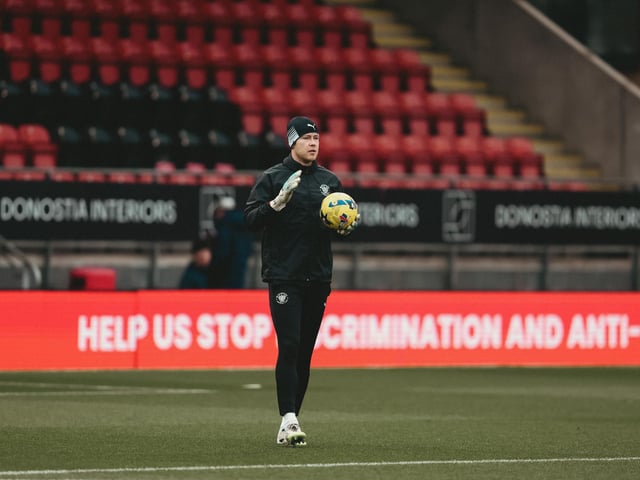
2. Bailey Peacock-Farrell - 6
Bailey Peacock-Farrell made a number of routine saves, but couldn't do anything about the goal. Photo: Gareth Evans
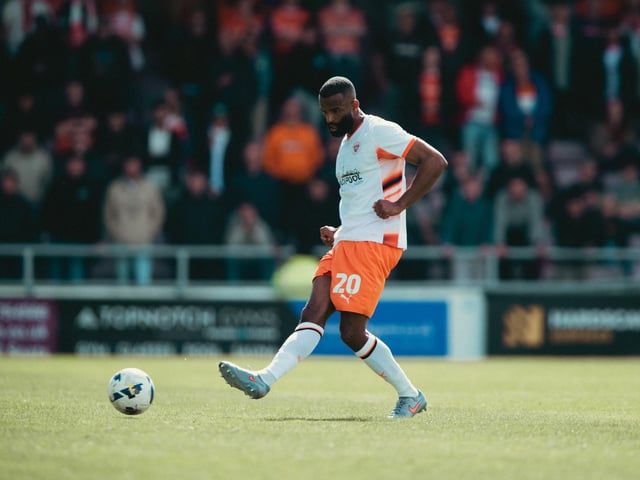
3. Michael Ihiekwe - 6
Michael Ihiekwe was caught out a couple of times on the right, alongside some decent challenges. Photo: Gareth Evans
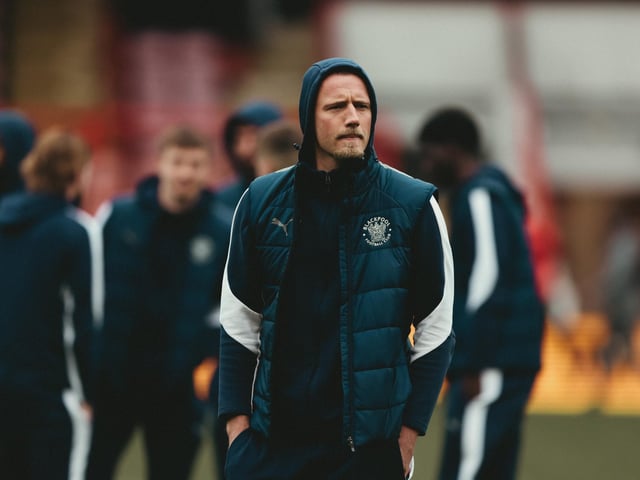
4. Fraser Horsfall - 6
Fraser Horsfall was able to deal with some balls forward, but probably couldn't play out in the way he would've liked in certain situations. Photo: Gareth Evans
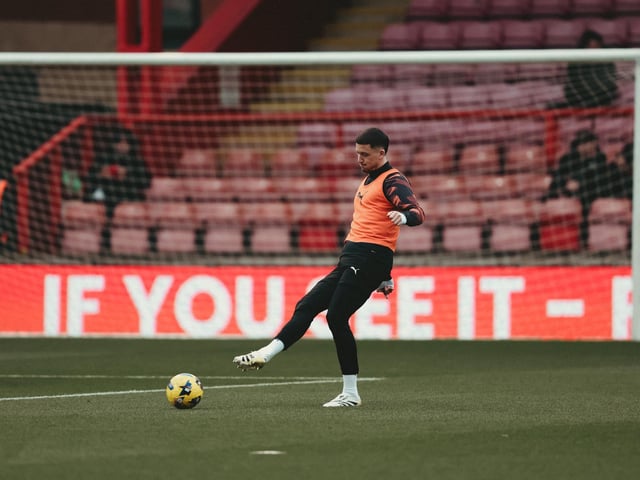
5. Olly Casey - 7
Olly Casey was probably the stand out in the back three, with the centre back stepping forward a few times to deal with certain situations. Photo: Gareth Evans
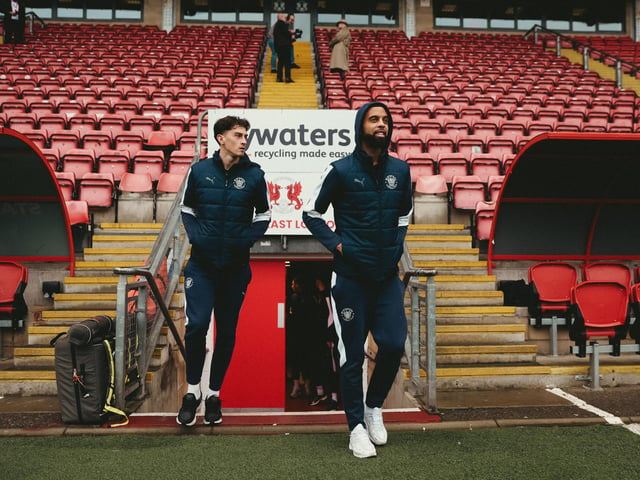
6. CJ Hamilton - 5
Things just didn't stick for CJ Hamilton down the right, with the wing-back unable to execute when he found himself in crossing opportunities. Subbed at the break. Photo: Gareth Evans